The 5-Year Frustration with Bitrise
For years, I’ve been frustrated with a seemingly simple problem: every time my Bitrise CI/CD pipeline successfully uploaded a new iOS build to TestFlight, I had to manually open App Store Connect, wait for the build to process, and copy-paste release notes into the “What to Test” field.
I’ve watched Bitrise forum threads dating back to 2018 with developers requesting this exact feature. Feature requests sat unanswered. The built-in Bitrise steps (deploy-to-itunesconnect-deliver, deploy-to-itunesconnect-application-loader) simply don’t support it. The underlying Apple tool (altool) has no parameter for release notes.
After 5 years of manually adding release notes, I finally took the time to fix this properly. Here’s the complete solution.
The Solution
Bitrise’s built-in deployment steps (deploy-to-itunesconnect-deliver, deploy-to-itunesconnect-application-loader) cannot add “What to Test” notes because they use Apple’s altool, which doesn’t support this feature.
You need to use fastlane instead. If you’re not already using fastlane in your project, don’t worry – the setup is straightforward. Here’s how to configure it properly.
The Complete Solution
Step 1: Install Fastlane (If Not Already Installed)
If you don’t already have fastlane in your project, create a Gemfile in your iOS project root:
source "https://rubygems.org"

gem "fastlane"

# Ruby 3.4 compatibility - gems removed from default gems
gem "abbrev"
gem "mutex_m"
gem "base64"
gem "nkf"
Run: bash bundle install
This creates a Gemfile.lock that locks your fastlane version. Commit both files.
If you already have fastlane, skip to Step 2 and just add the Ruby 3.4 compatibility gems to your existing Gemfile.
Step 2: Create a Release Notes File
Create Release-Notes.md in your iOS project root:
## v1.2.0

- Added dark mode support
- Fixed crash when uploading large images
- Improved performance on older devices
- Updated French and Spanish translations
- Fixed login issue with Face ID
Step 3: Initialize Fastlane (First-Time Setup Only)
If this is your first time using fastlane, initialize it:
bundle exec fastlane initFollow the prompts. This creates a fastlane folder with Appfile and Fastfile.
If you already have a fastlane folder, skip this step.
Step 4: Create Fastlane Lane
Add this lane to your fastlane/Fastfile:
desc "Upload to TestFlight with release notes"
lane :beta do
  # Read release notes from Release-Notes.md
  changelog = File.read("../Release-Notes.md")

  upload_to_testflight(
    ipa: ENV["BITRISE_IPA_PATH"],
    changelog: changelog,
    skip_waiting_for_build_processing: true
  )
end
Step 5: Update Bitrise Workflow
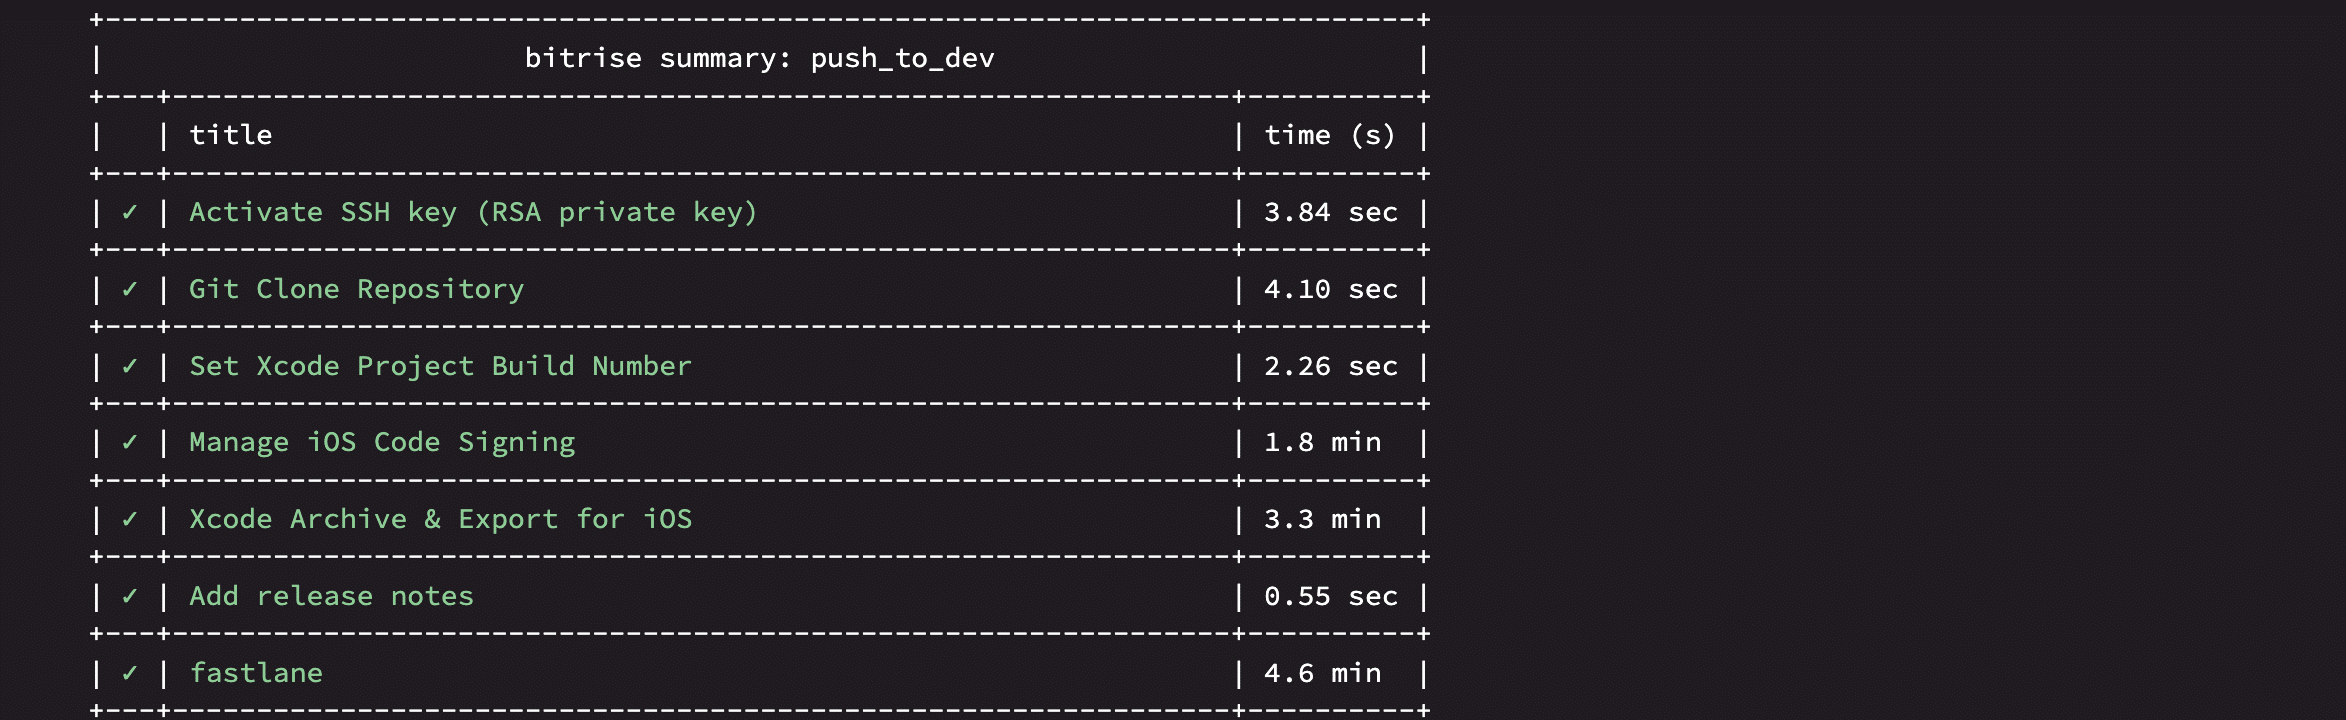
Using Bitrise Web UI:
- Open your app on Bitrise.io
- Go to the Workflow Editor
- Select your deployment workflow (e.g.,
push_to_dev) - Click the + button after your
Xcode Archive & Export for iOSstep - Search for fastlane and add it
- Configure the step:
- Lane:
beta - Leave other settings as default
- Lane:
Or edit bitrise.yml directly:
Add the fastlane step after xcode-archive:
steps:
- xcode-archive:
    inputs:
    - scheme: "$BITRISE_SCHEME"
    - distribution_method: app-store
    - automatic_code_signing: api-key

- fastlane@3:
    inputs:
    - lane: beta
Step 6: Commit and Push
git add Gemfile Gemfile.lock fastlane/Fastfile Release-Notes.md
git commit -m "Add automated TestFlight release notes"
git push
Important Caveats
Build Time Cost
When you provide a changelog, fastlane must wait 5-15 minutes for the build to appear on App Store Connect before it can attach the release notes. This is unavoidable – it’s an Apple API limitation, not a fastlane bug.
This waiting time consumes Bitrise build minutes. For cost optimization, consider: – Only using changelog automation for production releases – Skipping it for frequent development builds – Accepting the cost for full automation
The Wait is Required
The skip_waiting_for_build_processing: true parameter skips waiting for the full build processing, but fastlane still waits for the build to appear in the build list (which takes 5-15 minutes). There’s no way to skip this when providing a changelog.
Ruby 3.4 Gems Removed from Default
For reference, Ruby 3.4.0 removed these from default gems: – abbrev, mutex_m, base64, bigdecimal, nkf (kconv), drb, observer, getoptlong, resolv-replace, rinda, syslog, csv, repl_type_completor
Fastlane specifically needs: abbrev, mutex_m, base64, and nkf.
Verification
After your build completes: 1. Check Bitrise logs – you should see upload_to_testflight succeed 2. Wait 5-15 minutes for build processing 3. Open TestFlight in App Store Connect 4. Select your build – “What to Test” should contain your Release-Notes.md content
Conclusion
After 5 years of manually copy-pasting release notes, this solution finally automates the entire TestFlight deployment pipeline. Yes, it adds 5-15 minutes to your build time. Yes, it costs more in Bitrise minutes. But for production releases, the automation is worth it.
The key insights: – Bitrise’s native steps (deploy-to-itunesconnect-deliver) cannot do this – you must use fastlane – Ruby 3.4 compatibility requires adding missing stdlib gems – The wait time for changelog attachment is unavoidable
I hope this saves you the frustration I’ve experienced. Share this with your team if you’re struggling with the same issue.
Keywords
Bitrise TestFlight automation, iOS CI/CD release notes, fastlane uploadtotestflight, What to Test automation, App Store Connect changelog, Bitrise fastlane Ruby 3.4, altool changelog limitation, TestFlight release notes automation, iOS deployment pipeline, Bitrise iOS workflow, fastlane pilot changelog, App Store Connect API, Ruby 3.4 fastlane compatibility, missing stdlib gems, Bitrise build automation